I have been spending most of my free time on Warhammer, mainly reading and painting (I've found a few people mildly interested in playing, but no-one seems to have the time). I've made a start on some custom models, which I think will be pretty unique, and I'll tell you why.
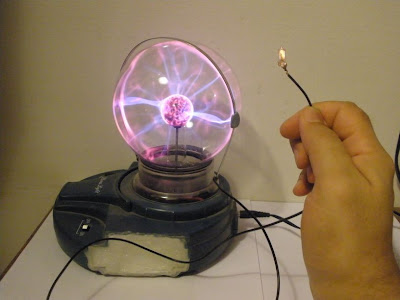
First let me tell you about something I don't understand, but that's interesting nonetheless: plasma balls are scary. Take a power testing screwdriver and hold it near a plasma ball. It doesn't even need to touch it to light up. What's more, if you open the screwdriver and remove the bulb, then just hold it near the plasma ball it will light up - that's all it takes. Hell, if you put it close enough or touching the plasma ball you won't even need to touch the bulb (though touching the bulb seems to provide an earth and allow a better current flow). If you place a small piece of metal such as a coin (I found the metal spring from an old pair of headphones works well) on the surface of the plasma bulb and connect it via a cable to the bulb, it will light up at a distance (if you touch the bulb it will be even brighter).
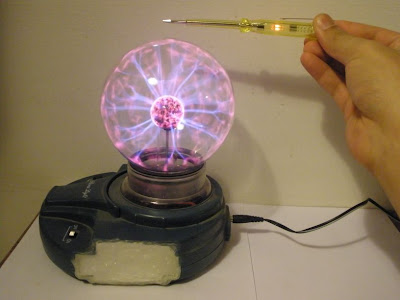
Holding the screwdriver close to the plasma ball is enough to light it (don't ask why the sides of the plasma ball have been cut off).
The bulb from inside the screwdriver also lights when held near.
The bulb on it's own. It isn't actually touching the plasma ball, but it does need to be very close.
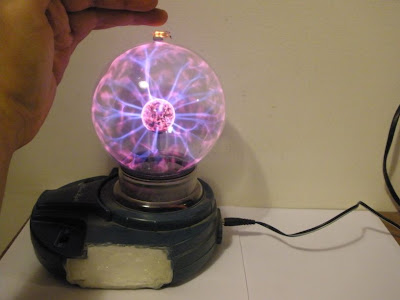
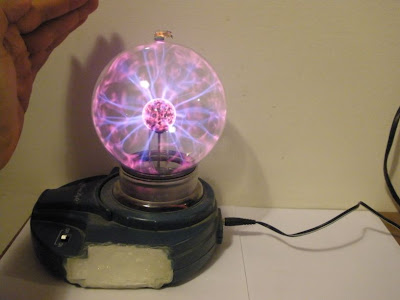
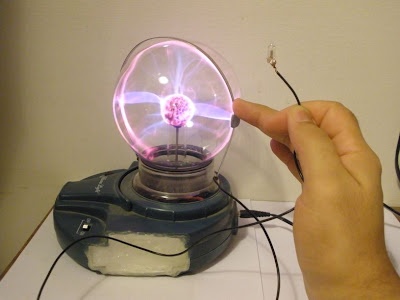
Just holding your hand close is enough to brighten it.
Connecting the bulb to the plasma ball using a simple cable and the spring from an old pair of headphones.
"Stealing" the current: the bulb no longer lights up.
Now the really important thing about all this is that you have a relatively small bulb that lights up when connected to it's power source by a SINGLE cable. Why is this important? Because it means we can install the bulb in a model and we don't need to connect the model with two cables. If done right we only need to place it on a metal surface that is connected to the plasma ball, allowing us to pick it up move it around freely without any annoying cables, and it will still light up! I've already installed some bulbs in a couple of models:
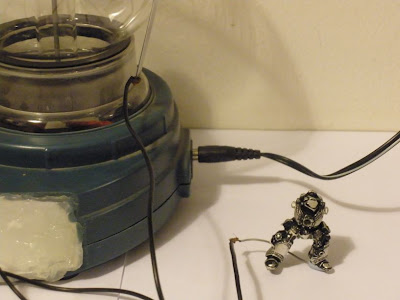
A Grey Knight Terminator (with a failed undercoat).
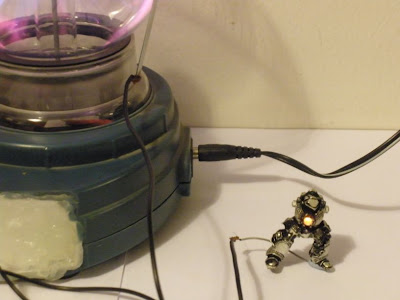
When connected to the plasma ball by a single cable (through his leg), it lights up!

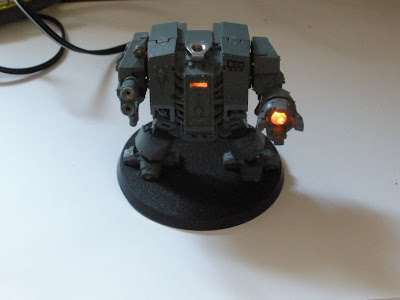
A Dreadnought (that will eventually be a Grey Knight Dreadnought) with 5 bulbs.
It's connected to the plasma ball ball by a single cable through the leg.
The metal nut is there so you can touch it to brighten the bulbs further.
The view from behind.
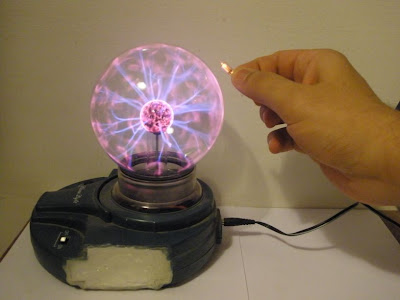
Now there is one more thing you can do here (and probably more that I haven't thought of yet), though it's not as impressive and actually far less reliable. When you place a piece of metal on the plasma ball, sparks (or an arc I suppose) will jump to skin or metal held very close - if you're not careful you can end up with an extremely small yet momentarily quite painful burn on your fingers. Allowing an arc to jump to your fingers for about half a second will produce a tiny visible burn (and the small of burnt flesh) without causing any pain, but longer than that and it could hurt. I once burnt a mark into my fingernail by accident, that was rather painfull and the mark was visible until it grew out.
You can get a "captive spark" to jump on a model, but it's tricky to do and the spark is very small, and you need to touch the model to complete the circuit or else it just won't jump. Also you cannot mix sparks and bulbs on a single model, not with any degree of reliability anyway, as my Dreadnought taught me - the messy holes in his Multi Melta are from a failed attempt to get a spark to jump between the barrels. I actually got the spark to jump on occasion, but the bulbs wouldn't light unless the spark jumped. If I wired it up differently the bulbs would work better but the spark never would. Instead I got a spark on the end of a Grey Knight Brother Captain's incinerator. It's reasonably reliable, but the problem is that I think the spark might actually be slowly burning away the metal. It might just be something else or just random luck, but the spark is less reliable now than when I first set it up. Time will tell I suppose.

Grey Knight Brother Captain.

The spark is small yet visible.

This was a hard picture to take, but it shows off the spark a little better.
I will place more detailed descriptions of how I installed the bulbs later, probably after I actually paint the models. I'm putting off the painting until my skills improve a little, as I really want these to look good. As you can see I'm having some trouble with the undercoat layer on metal models, so I still have some things to figure out. By the way, a plasma ball will also light a neon bulb in the same way (the basis of my old home-made lightsaber), but as the smallest neon bulb I have is about the height of a Dreadnought and as thick as his arm, I don't see it as being good for anything other than scenery, and I'm not there yet (besides, since scenery is quite fixed in place the "one cable advantage" is less pronounced). Also, using an oven lighter (the kind that just makes sparks) will also light the bulbs, but they will flicker and you really need two cables then. Good for showing off the models when transporting them I guess. In theory with some work you could use the bit that makes the spark on cheap lighters, but... no.


 Bind pose
 Posed bones. It may not be obvious, but this is supposed to happen.

 Holding the screwdriver close to the plasma ball is enough to light it (don't ask why the sides of the plasma ball have been cut off).
 The bulb from inside the screwdriver also lights when held near.
 The bulb on it's own. It isn't actually touching the plasma ball, but it does need to be very close.
 Just holding your hand close is enough to brighten it.
 Connecting the bulb to the plasma ball using a simple cable and the spring from an old pair of headphones.
 "Stealing" the current: the bulb no longer lights up.
 A Grey Knight Terminator (with a failed undercoat).
 When connected to the plasma ball by a single cable (through his leg), it lights up!
 A Dreadnought (that will eventually be a Grey Knight Dreadnought) with 5 bulbs.
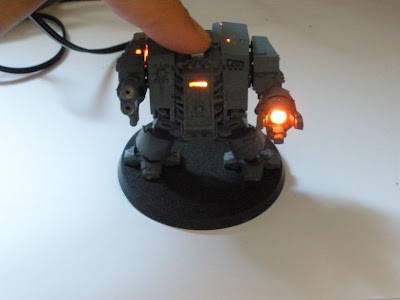
 It's connected to the plasma ball ball by a single cable through the leg.
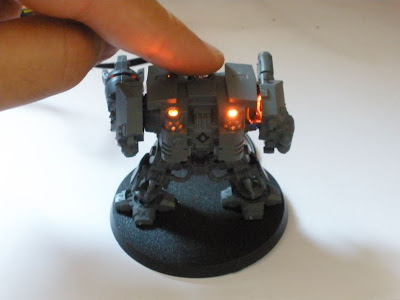
 The metal nut is there so you can touch it to brighten the bulbs further.
 The view from behind.
 Grey Knight Brother Captain.
 The spark is small yet visible.
 This was a hard picture to take, but it shows off the spark a little better.